

For the past two Thursdays, I've been making apple head dolls with the home school co-op kids.There is a lot of information on the web about making apple head dolls. The best carving instructions are found at Apple Dolls: An American Folk Doll.
The kids can do their own carving using plastic knives and spoons (a pencil is great for making they sockets).
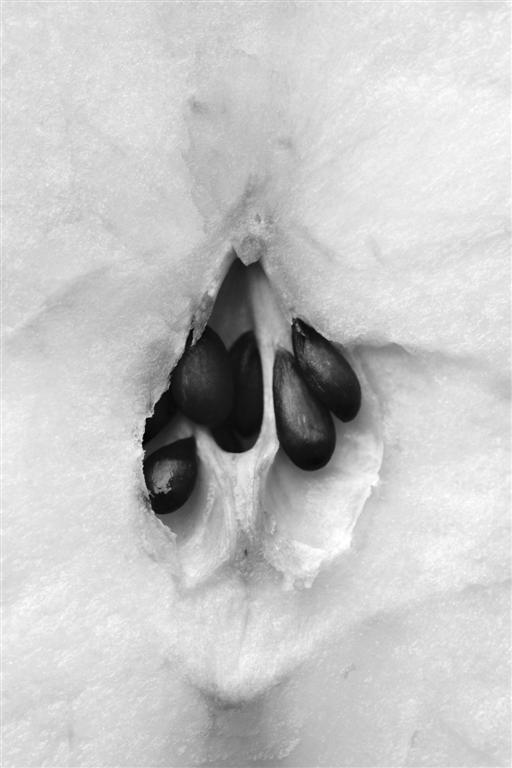
I've cured and dried apple heads using a food dehydrator and in an oven as described in my article at Suite101.
I wasn't sure about how I wanted to do the bodies. At first I considered following the instructions that Gail at that artist woman shares for paper mache marionette puppets. However, I decided to strike out on my own.
Supplies:
12" dowels
yarn
hot glue
printed handkerchief
misc. embellisments
Instructions
Make a body form by taking two dowels and put them together in a t-shape with a high cross bar like a telephone pole. You only need enough dowel sticking above the cross-bar to create a neck to stick into the head of your doll.
Hot glue the joint and use some yarn to reinforce it. [The hot glue gun should be operated by an adult at all times (I gave myself a nasty little burn today - we don't want kids getting burnt)].

Lay your handkerchief out flat. bring two opposite sides to the middle and overlap. Use a body form to make sure the handkerchief is folded to the right width. The 'arms' need to protrude just slightly if you want to put hands on them (we did not).

Fold the handkerchief in half lengthwise.

Make a very small cut in the center. This cut needs to go through the two angles that were brought to the center of the handkerchief as well as the middle fold. This way the 'sleeves' of the dress don't unfold and become too long.

Slip the dress over the doll form. Use hot glue to glue the sleeves to the "arms" stick and then glue down the two side seams (I didn't take pictures of this step).
Use a sharp object such as a corn skewer to push a hole into the bottom of the doll's head. fill the hole with hot glue and shove it onto the neck. (This should be performed by an adult).
Use a ribbon to tie the dress and create a waist for your doll.
The children can pick beads to shove into the eye sockets and use markers to color the face of their doll. They can use craft glue to glue on embellishments or they can have an adult glue them on with the hot glue gun.
If you want simple goofy yarn hair like our dolls, I made a brief picture tutorial.


My doll.

Here is a look at the dolls the kids made today.


The kids thought the dolls looked like scarecrows. I kind of thought they looked as if they were wearing kimonos.

The girl who made this doll told me she wanted her doll to look just like her. I told her Mom that she might want to watch A. Purple forehead tattoos might be in her future (I am not sure but I am thinking that button in the mouth that is supposed to be a tongue looks a lot like a lip disc).

I think this doll has a definite head-hunter vibe going on.

This doll has buttons for ears...to me they look as if he is wearing ear discs. He also has a button hat (I am guessing he is a Packers fan too).

C decided that the shriveled face made a good witch.
We made apple prints on Monday.

C's apple prints. She chose to print almost all her apples as stars and do them all in red. She printed the text for the verse "The Apple Star" on top of her apple prints.

The Apple Star
Take an apple round and red.
Don't slice down
Slice through instead.
Right inside it you will see
A star as pretty as can be!
My apple prints - displayed by C. I wrote the text for the first verse of the the Johnny Appleseed song "The Lord's Been Good to Me" over the prints.

Oh the Lord is good to me
And so I thank the Lord
For giving me the things I need
The sun and the rain and the apple seed
Oh the Lord is good to me
Below is a picture of Kublagosh. It is a recipe that the mom of one of my high school friends submitted to the Almena Celebration cookbook when I was a child. It became a family favorite and I made it numerous Saturdays for movie night when I was in high school. As an adult, I tried to find the recipe on the Internet and never could find it (then my parents found old Almena Celebration cookbooks and gave them to all of us kids). The point is that I have no idea what Kublagosh means.

Kublagosh
1 cup butter (softened)
1 1//2 cup white sugar4 eggs
1 can cherry pie filling (or homemade pie filling)
3 cups flour
2 ½ tsp baking powder
1 tsp vanilla
Preheat oven to 350 F. Mix butter, sugar, eggs, and vanilla. Sift together flour and baking powder. Add dry ingredients to butter mixture; mix well. Spread 2/3 of mixture into a 9 X 13 pan. Spread a can of pie filling on top. Drop remaining batter on top of filling. Bake at the preheated oven setting for 30 minutes. A powder sugar glaze may be added when desert is removed from the oven.
Special Instruction: I find it takes longer than thirty minutes to bake this if you want the middle to set. I usually bake it for forty minutes and then turn off in the oven and let it cool in the oven for a little while before I take it out.
Note: I made my own apple pie filling using a recipe from Pam Anderson's book "The Perfect Recipe." It is a fabulous recipe that uses neither corn starch or flour to thicken the filling but rather relies on a mixture of apples.


How fun! Thanks for sharing the recipe. We went to an Apple Farm today. I think Apple Prints and Applehead dolls are in our future. :o) Happy Thursday!
ReplyDeleteI love the apple paintings! The Kublagosh... it looks pretty good too! Fun post! :) Anna @ Moon River.... My last post I added your link as one of my favs!
ReplyDeleteI remember making apple head dolls like that as a child. The apple treat looks delicious.
ReplyDeleteThanks for the tasty looking recipe. I am definately going to try that out. And I have been looking forward to seeing your macro shots of the apple, and I am not disappointed! How cool is that!
ReplyDeleteThose are so cute...I bet the kids really got a kick out of making these...I am off to the next post..I see a rooster.
ReplyDeleteWhat fun things you've been doing! I love apple prints. There's something just fun about the star inside an apple. :)
ReplyDeleteThis recipe looks wonderful but I am not to be trusted with it as I just made Irish Oatmeal cookies that taste like salt. Have a lovely weekend.
ReplyDeleteThese are cute, Melissa. Funny!
ReplyDeleteWishing you a wonderful weekend. xxx
Neat! I've never seen/heard of apple head dolls before so when I read your post title I just had to check it out. Those are great and I'm glad I popped over!
ReplyDeletei think the dolls look like kimono-wearing scarecrows, so i guess you're both right!
ReplyDeleteI never thought of doing apple prints... a fun and simple idea for a kid craft.
thanks for the inspiration, Melissa!
Such cute dolls. And I adore your B&W photos - how artistic !
ReplyDeleteNow I'm hungry! Definitely have to try this recipe. I just made an apple pie, but anything cherry & I'm there! Have a great weekend!
ReplyDeleteLove the B&W apple shots!
ReplyDelete